Data Transfer
CCR supports multiple ways to transfer Data in and out of CCR and the method you choose depends on the amount of Data to transfer and the speed of your connection to CCR. File transfers from a local system can be done through a web-based application called Globus or through command-line tools such as secure copy (scp), secure ftp (sftp) and rsync. Some command-line tools may be unavailable on Windows, though alternative applications exist. (e.g., Git Bash, FileZilla)
CCR Supported Methods for inbound and outbound Data transfer include:
VPN Required
Access to Secure Shell Copy and OnDemand is restricted to UB and Roswell Park networks (either on campus or connected to their VPN services).
* Globus transfers are available from everywhere, You do not need to be on the UB or Roswell Park networks to use Globus.
Watch the virtual workshop video to learn more about data transfer options at CCR:
Globus transfers
Globus file transfers are typically initiated through an interactive web application (command-line access to Globus is also available, but is beyond the scope of this document). Globus addresses deficiencies in traditional file-transfer mechanisms by automating large data transfers, resuming failed transfers, distributing large transfers across multiple servers, and brokering direct transfers between remote computing centers. Globus performs an MD5-Checksum for transfer verification.
Globus can be used on macOS, Linux, and Windows operating systems and is CCR's recommended way of transferring files, especially for large amounts of data.
Globus Web App
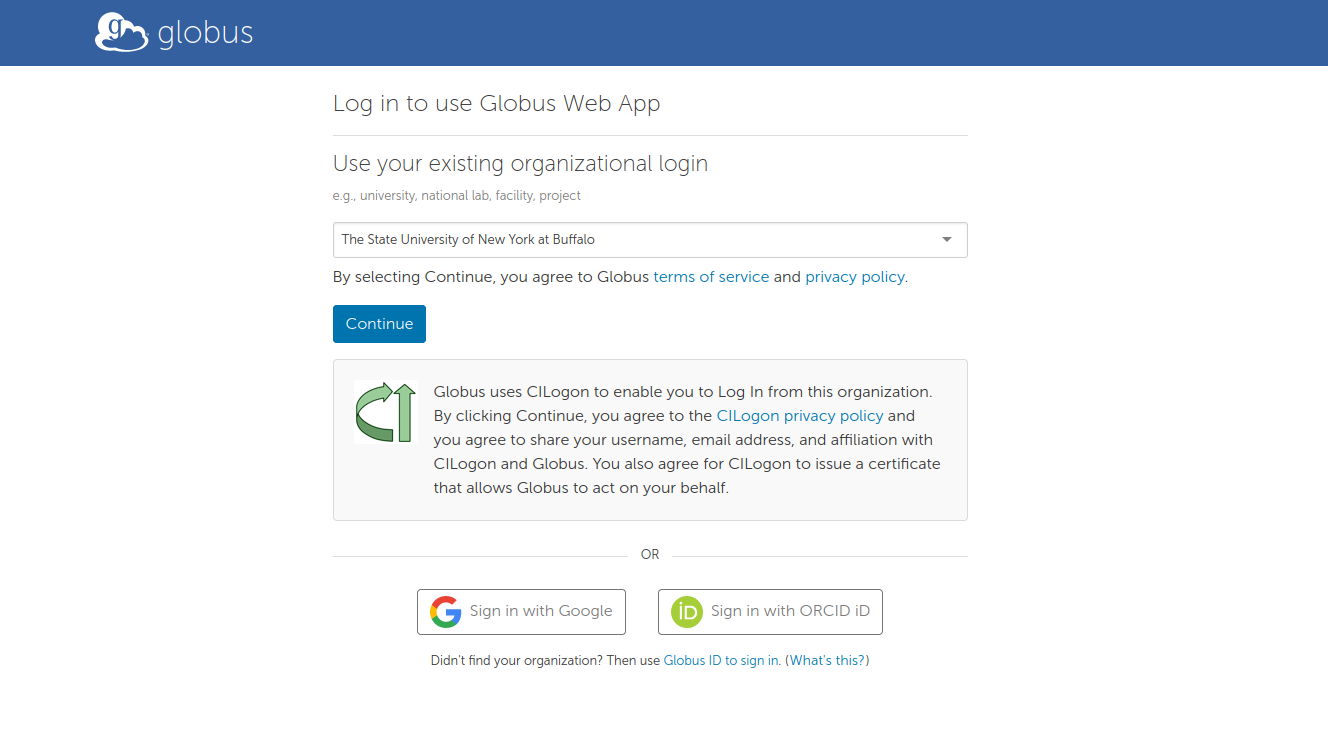
To use Globus, go to the Globus Web App and sign in by selecting "The State University of New York at Buffalo" from the dropdown menu and by logging in using your UB credentials. Roswell Park users should search for "Roswell Park Comprehensive Cancer Center" and authenticate with their Roswell Park account, not their UB account.
non-UB users:
If you are with an institution other than UB or Roswell Park, you will need to create a Globus account and contact CCR Help to map your globusid to your CCR account.
CCR storage resources are available in Globus as mapped collections.
You can connect to a CCR endpoint using the "collections"
field in the Globus web interface and searching for UBuffalo
CCR Currently has 3 Mapped Collections:
- UBuffalo - Center for Computational Research Project Directories
- UBuffalo - Center for Computational Research Home Directories
- UBuffalo - Center for Computational Research Vast Global Scratch (/vscratch)
Log into the endpoint using your UB or RPCI account credentials (not your CCR account). The system will map your @buffalo.edu or @roswellpark.org account to your local CCR user and you will have access to the same directories that you do when logged into any other CCR system. NOTE: Some RPCI accounts will not map correctly to CCR accounts. If this is affecting you, please contact CCR Help and we'll resolve the mapping issues.
You can download single files through the browser but to take advantage of the benefits of Globus you will need to do endpoint to endpoint transfers. To do this, you must configure a local endpoint in order to transfer files to/from your local computer. You can easily set up a Globus endpoint by installing Globus Connect Personal and setting up a personal endpoint.
Using the web app, connect your local workstation endpoint with the CCR endpoint and transfer files easily using the Globus GUI.
Guest Collections (Globus Shared Endpoints)
Using a Guest Collection (also known as a "Shared Endpoint"), you can share any file or folder that you have access to with anyone who has a Globus account. This is particularly useful for external collaborations in which data sharing is necessary.
Globus provides detailed information on creating Guest Collections
Using Globus to transfer files to and from UB Box
CCR users are able to move data between CCR and UB Box within Globus using an integrated Box Connector App (UBuffalo-CCR Globus Box Connector). Initial setup will require you to log into UB Box and give the app consent to access UB Box on your behalf.
Note
The UB Box Collection is accessed the same way the CCR Mapped collections are as described in the Globus Web App section above with one notable exception: you will be prompted to grant access to UB Box the first time you access the collection. You will also be prompted to renew the access if it's been awhile since you last connected to UB Box through Globus.
Grant Access to the UBuffalo-CCR Globus Box Connector App
These steps are only needed when accessing the UB Box Collection for the first time:
Log onto the Globus Web App
Go to the File Manager tab and search for the "UBuffalo-CCR Box Collection" in the Collection search bar.
When you click on the UBuffalo-CCR Box Collection for the first time, you will be prompted to Authenticate to the UB Box service.
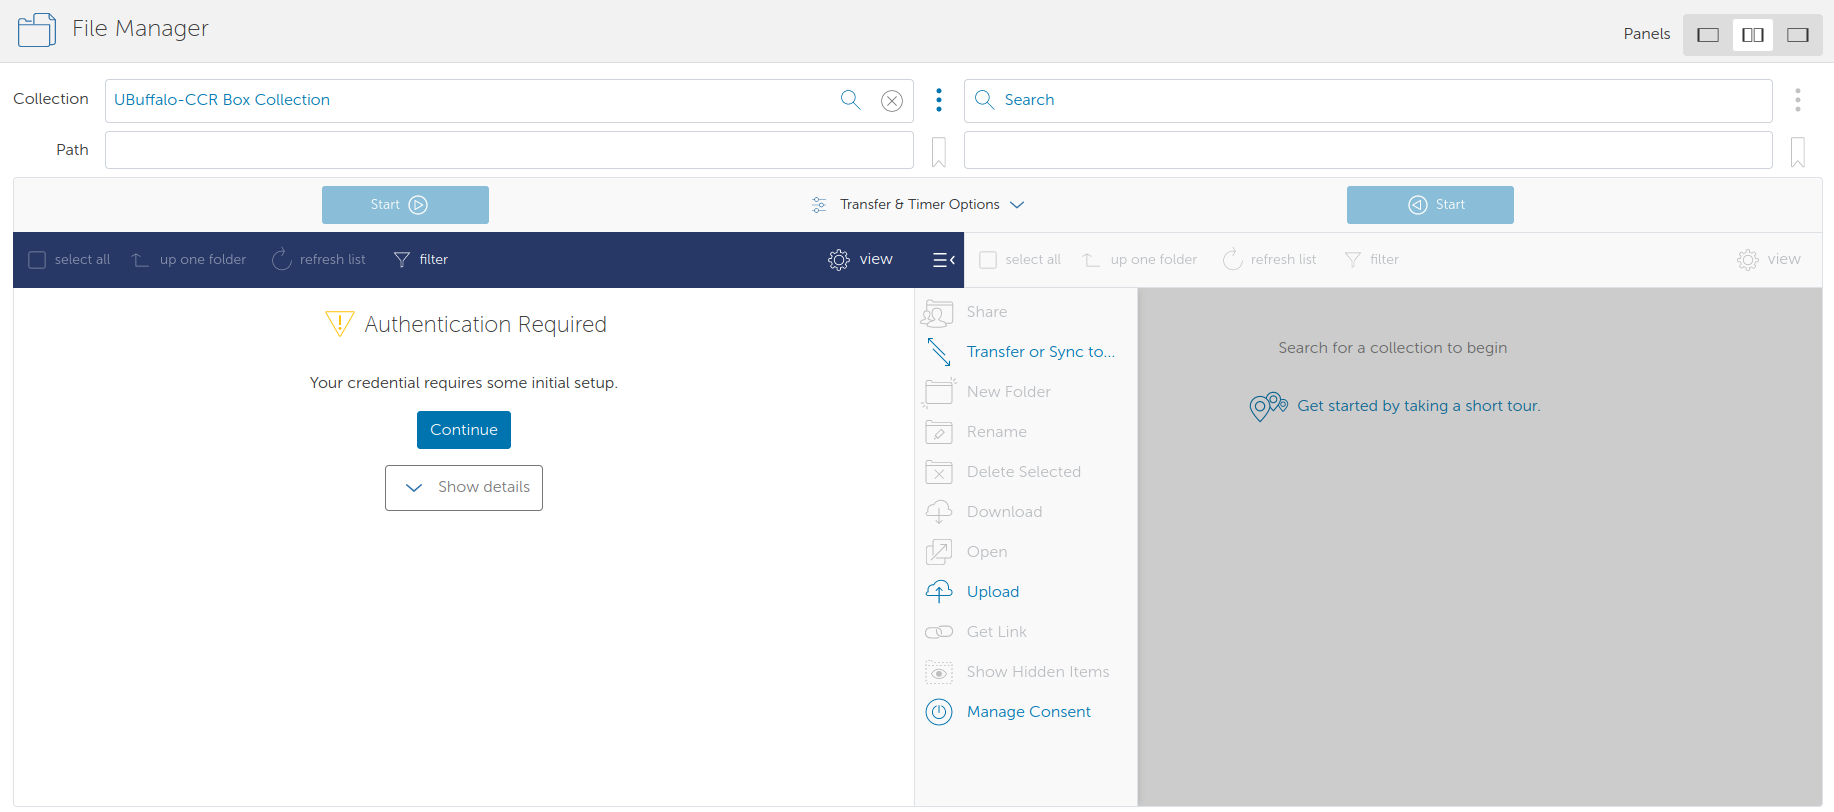
Click Continue and you will be directed to the "Registering a Credential" Page.
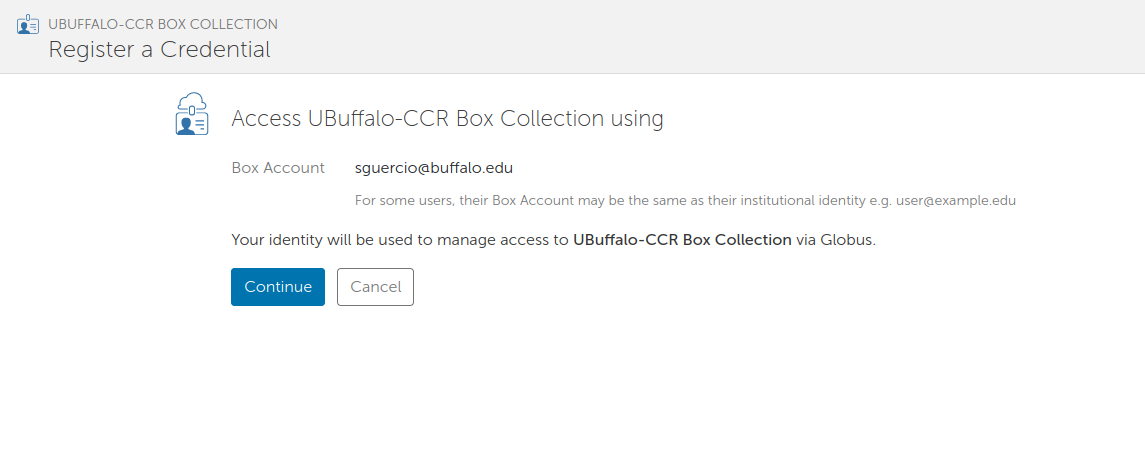
This screen shows which Account globus will use to Connect to the CCR UB Box Collection.
If this is all correct Click Continue
You will then be directed to the "Box Login Page"
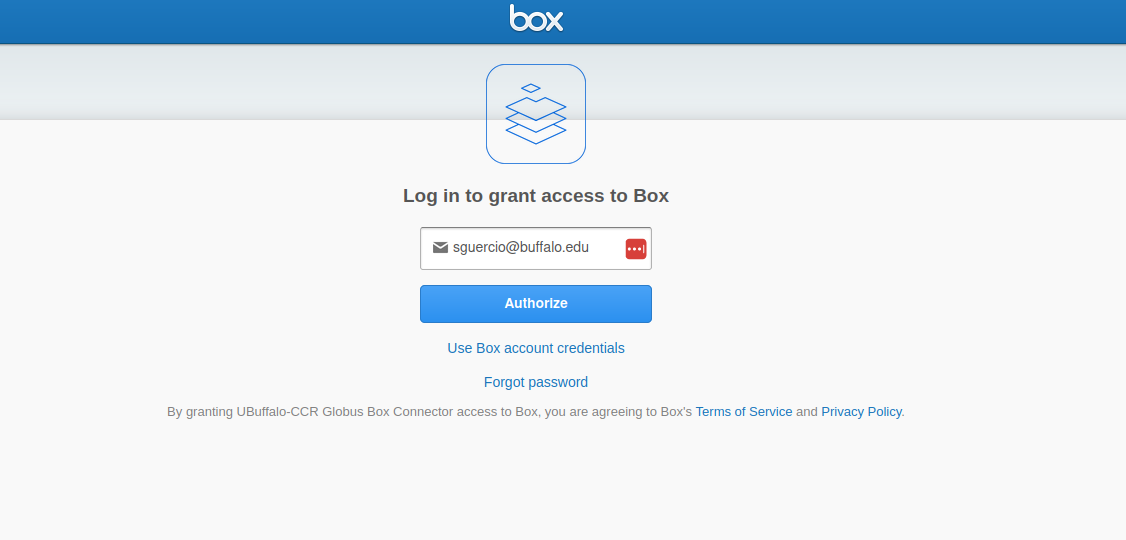
Verify the account that will be used to log into UB Box is correct and Click Authorize
This will take you to the normal UB Single Sign On (SSO) login page where you will log in using your UB credentials and Duo 2 Factor if prompted.
After sucessfully logging into UB SSO you will be prompted with one more screen to Grant access to the "UBuffalo-CCR Globus Box Connector"
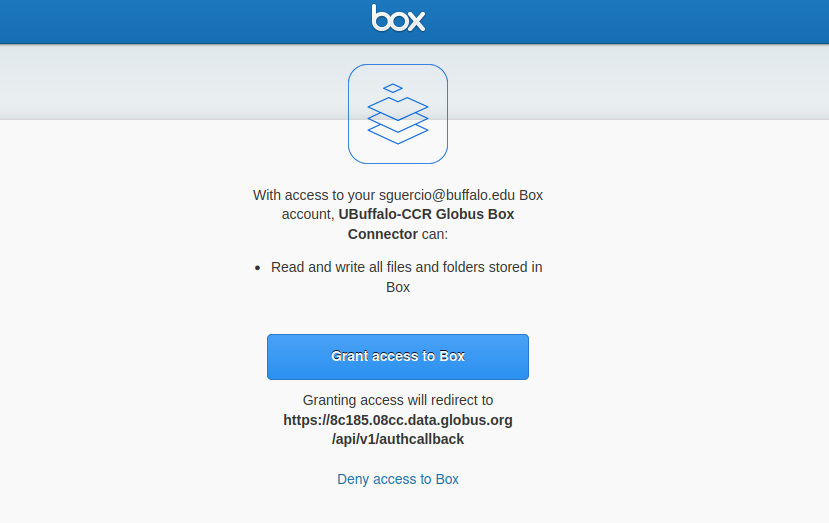
Click Grant access to Box and you will now be authenticated to your UB Box account from within Globus. You will then be sent back to the File manager screen.
If the panel is blank, you will need to search again for the "UBuffalo-CCR Box Collection" in the Collection search bar. If you have properly granted consent to the Globus Box App, then you should see the contents of your UB Box account.
Once you have completed the Access Consent steps above, you should now be able to access UB Box just like any of the other CCR Mapped Collections.
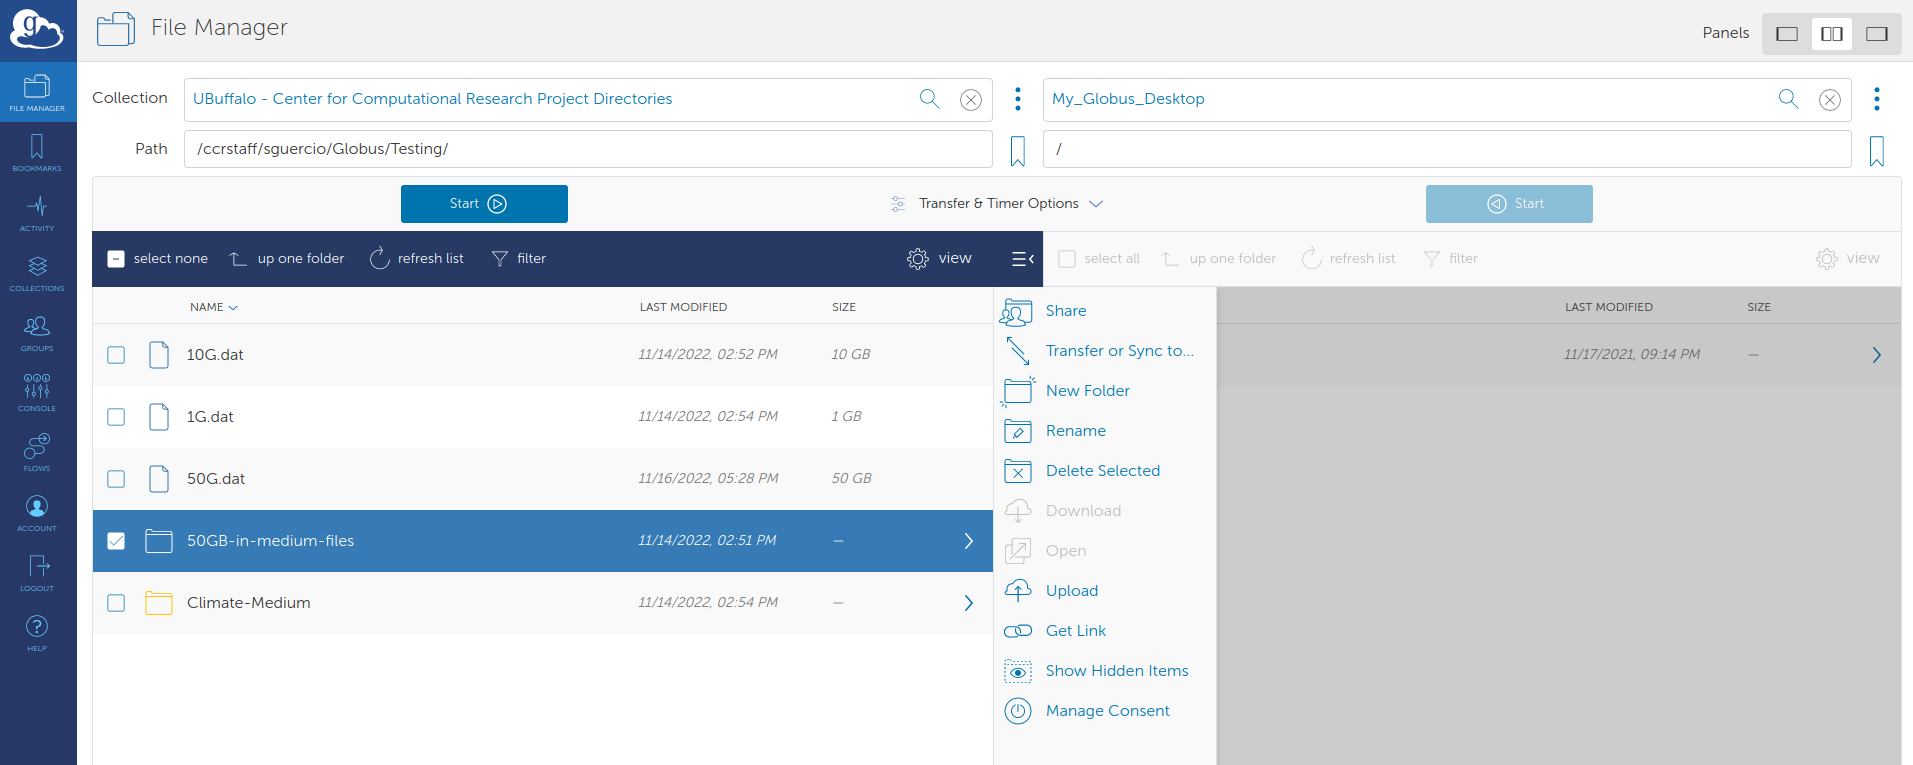
To transfer files to or from UB Box to CCR Collections:
From the File Manager in the second window of the split screen, you can connect to one of the the CCR Mapped collections (ex. UBuffalo - Center for Computational Research Project Directories) listed above it will appear in the other panel.
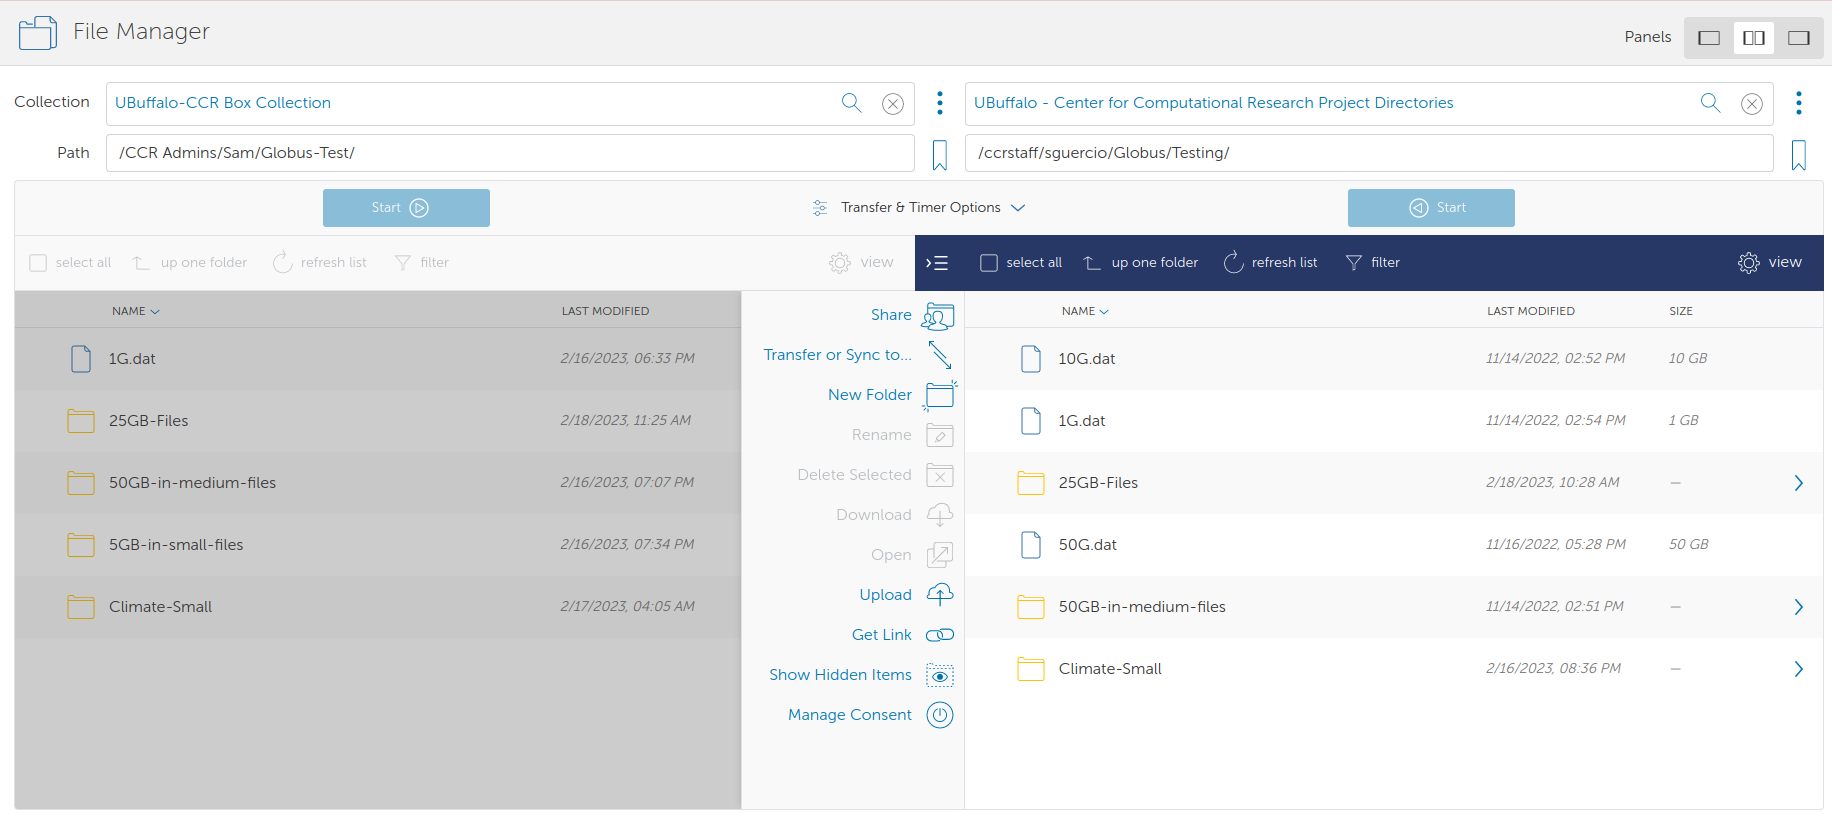
From here you can initiate a file transfer by clicking your source files or directories and click Start
Note
The Box API implements rate limiting so depending on the type of transfer and number of files you may get connection resets in the transfer log. These will not stop the transfer because Globus will just retry the connection until the transfer is complete.
Globus Integration with OnDemand
CCR users may also access Globus using the OnDemand Files app.
Secure Shell Copy
Command line terminal access is provided via the SSH protocol, while command line file transfer
is available with sftp (Secure File Transfer Protocol) and scp (Secure Copy). More information on using SSH on CCR's system is on the SSH login page.
to/from the Frontends:
- This would be for simple file transfers that can complete within a 15 minute timeframe
from the Compute Nodes:
- This would be for file transfers that can complete within a 72 hour window (UB-HPC cluster max, Faculty cluster nodes may have longer max walltime)
- This will only work for outbound transfers because compute nodes are not exposed externally
- You must have an active job with an allocated compute node to get access to the node
SSH Keys required
Users must use SSH keys to connect to CCR servers using SSH/SFTP/SCP. Please follow these instructions to upload your public SSH key to the CCR identity management portal before attempting to connect to CCR's servers.
Command line SCP
The Secure Copy utility, scp, can send data to and fetch data from a remote server.
In the examples here, replace <path-to-file> with the path of the file you wish to copy, [CCRusername] with your CCR
username, and <target-path> with the full path to the directory you would like to send the file to.
# Copying files from a local workstation to CCR Frontend Servers

scp -i <path-to-yourSSHKey> <path-to-file> [CCRusername]@vortex.ccr.buffalo.edu.edu:<target-path>
Note
For any of the SSH based transfer methods, If you are running an SSH Agent locally that manages your private key you will not need to specify the key in the command line.
Windows users can access scp through PowerShell or Git bash or using a GUI application like FileZilla.
For more information on secure copy take a look at some of our listed resources or consult the scp manual page.
Interactive file transfer with SFTP
The sftp utility is an interactive alternative to scp that allows multiple, bi-directional transfer operations in a single
session. Within an sftp session, a series of domain-specific file system commands can be used to navigate, move, remove, and copy data
between a local system and CCR resources.
sftp [CCRusername]@vortex.ccr.buffalo.edu
We can then use various commands to traverse and manipulate both local and remote file systems.
| Command | Function | Example |
|---|---|---|
| cd | Changes the directory of the remote computer | cd remote_directory |
| lcd | Changes the directory of the local computer | lcd local_directory |
| ls | Lists the contents of the remote directory | ls |
| lls | Lists the contents of the local directory | lls |
| pwd | Prints working directory of the remote computer | pwd |
| lpwd | Prints working directory of the local computer | lpwd |
| get | Copies a file from the remote directory to the local directory | get remote_file |
| put | Copies a file from the local directory to the remote directory | put local_file |
| exit | Closes the connection to the remote computer and exits the program | exit |
| help | Displays application information on using commands | help |
For more information on sftp check out some of our listed resources or consult the sftp manual page.
Rsync
While scp is useful for simple file copy operations, the rsync utility can be used to synchronize files and directories across two
locations. This can often lead to efficiencies in repeat-transfer scenarios, as rsync only copies files that are different between the
source and target locations (and can even transfer partial files when only part of a file has changed). This can be very useful in reducing
the amount of copies you may perform when synchronizing two datasets.
Warning
You will need to set the remote shell command to ssh. The default rsh is not secure and will not work at CCR.
In the examples here, replace <path-to-file> with the path of the file you wish to copy, [CCRusername] with your CCR
username, and <target-path> with the full path to the directory you would like to send the file to.
# Synchronizing from a local workstation to CCR

rsync -e 'ssh -i <path-to-yourSSHKey>' -r <path-to-directory> [CCRusername]@vortex.ccr.buffalo.edu:<target-path>
rsync is not available on Windows by default, but may be installed individually or as part of Windows Subsystem for Linux (WSL).
For more information on rsync check out some of our listed resources or consult the rsync manual page.
Filezilla
There are additional software products available for Windows, Mac, and Linux distributions that provide secure drag and drop interfaces for file transfer such as Filezilla.
Once installed, follow these steps to connect to CCR resources with Filezilla:
Adding CCR as a site:
SSH Keys Required
You will need the SSH Key setup in FileZilla so that it does not try and use a password. CCR will only allow SSH key authentication.
If you are using an SSH Agent to manage your SSH Keys , Verify that your SSH_AUTH_SOCK environment variable has been set by the SSH Agent.
$ echo $SSH_AUTH_SOCK
/run/user/1000/keyring/ssh
- From the File dropdown click
Site Manager...
This will popup the Site Management Window
- Click
New SiteRename the site from the default New Site to "CCR"
Enter the Following Settings:
  - Protocol: SFTP - SSH File Transfer Protocol
  - Host: vortex.ccr.buffalo.edu
  - Login Type: Normal
  - Username: [CCRusername]
  - Password: Leave Blank
- Click
OKto add the site.
After the Site has been added you can connect to CCR by selecting it from the Site Manager Window and clicking Connect
If you are NOT using an SSH Agent to manage your SSH Keys:
Open the Filezilla Application
- From the Edit dropdown select
Settings- Go to the
SFTPPage- Click
Add key file...- Navigate to your CCR Private SSH Key and click
Open
Filezilla will prompt to convert the key into a compatible format
- Click
yesand select a place and name for the converted key
You will now see the key in the list of SSH keys
- From the File dropdown click
Site Manager...
This will popup the Site Management Window
- Click
New SiteRename the site from the default New Site to "CCR"
Enter the Following Settings:
  - Protocol: SFTP - SSH File Transfer Protocol
  - Host: vortex.ccr.buffalo.edu
  - Login Type: keyfile
  - Username: [CCRusername]
  - Key file: Navigate to the Key you converted in previous steps
- Click
OKto add the site.
After the Site has been added you can connect to CCR by selecting it from the Site Manager Window and clicking Connect
rclone
rclone is a tool that can be used to transfer files to/from cloud storage such as Microsoft OneDrive and Box from the command line. The following are instructions on how to use rclone to transfer data to/from OneDrive. For instructions with other cloud storage, check the rclone Online documentation
rclone is available as a module at CCR and needs to be loaded in the users environment first.
Note
OneDrive requires an Internet connected web browser to obtain an authentication token from Microsoft. CCR compute nodes do not have browsers, so you will need access to a machine with rclone and a web browser.
Using rclone with OneDrive
$ module load rclone
$ rclone config

No remotes found, make a new one?
n) New remote
s) Set configuration password
q) Quit config
n/s/q>
- answer n for new remote
"name>" (the name for the new remote)
- Give it a name such as "OneDrive"
"Storage>" (the storage type of the new remote)
- Select the number that corresponds to "Microsoft OneDrive"
"client_id>" (OAuth Client Id.)
- Press Enter to leave empty.
"client_secret>" (OAuth Client Secret.)
- Press Enter to leave empty.
"region>"
- Press Enter for the default (global).
"Edit advanced config?"
- Enter 'n' No (default)
"Use auto config?"
- Enter 'n' for machine without web browser access
You will then be prompted with the following:
Execute the following on the machine with the web browser (same rclone
version recommended):
    rclone authorize "onedrive"
Then paste the result.
Enter a value.
As mentioned in the previous Note, You will need to run the authorize command on a system that can open up a browser window which will take you through the authentication steps to access your OneDrive. This includes UB's Single Sign On system if you are a UB Faculty or Staff member. Once those steps have been completed you can paste the token into the config_token prompt.
"config_token>"
- Paste the token from the authorize step above.
"config_type>"
- Press Enter for the default (onedrive)
"config_driveid>" (Choose drive to use )
- Select the one that corresponds to OneDrive (business)
"Drive OK?"
- Type "y" to confirm the drive you wish to use is correct.
"Keep this "OneDrive" remote?"
- Type "y" for Yes this is OK (default)
For additional information on remote setup including additional options see the rclone setup guide
Security Warning
rclone stores your access tokens and information about your cloud services in your configuration file. You should keep your rclone.conf file in a secure location with proper permissions set. As added protection, we recommend encrypting your configuration file, as per the rclone configuration encryption guide.
To test the connection, create a file with the touch command or copy an existing file to your OneDrive
$ touch somefile.txt
$ rclone copy somefile.txt OneDrive:/test
rclone ls or logging into OneDrive in a web browser
$ rclone ls OneDrive:/test
0 somefile.txt
Additional rclone information:
OnDemand File Manager App
This is browser based for simple transfers and not recommended for large amounts of data. However, OnDemand offers Globus integration to make larger file transfers easier. For more information see the OnDemand documentation
More reading
- Indiana University Tutorial on SFTP
- A Cloud Guru's Tutorial on SSH and SCP
- ssh.com's Tutorial on SCP and SFTP
- Linuxize's Tutorial on Rsync
- Ubuntu's Documentation on Rsync